
Self-Hosting MagicSync
Self-hosting MagicSync gives you full control over your data and infrastructure. Instead of using a managed cloud service, you run MagicSync on your own server or computer.
Why self-host?
- Data ownership — Your data stays on your infrastructure.
- Customization — Modify the code and configuration to fit your needs.
- Cost control — Pay only for the server resources you use.
- Privacy — No third-party access to your content or accounts.
Prerequisites
Before you start, make sure you have:
| Tool | Purpose | Download |
|---|---|---|
| Docker | Container runtime | docker.com |
| Docker Compose | Multi-container orchestration | Included with Docker Desktop |
| Git | Clone the repository | git-scm.com |
| Computer or Server | Host for the application | Local machine or VPS |
Minimum System Requirements
- CPU: 2 cores
- RAM: 4GB
- Storage: 20GB
- OS: Linux, macOS, or Windows with Docker
Recommended for Production
- CPU: 4+ cores
- RAM: 8GB+
- Storage: 50GB+ SSD
- OS: Ubuntu 22.04 LTS or similar
Architecture Overview
MagicSync self-hosting runs three services together:
┌─────────────────────────────────────────┐
│           MagicSync Stack               │
│  ┌─────────┐  ┌─────────┐  ┌─────────┐ │
│  │  Site   │  │ Python  │  │   DB    │ │
│  │ (Nuxt)  │  │ Backend │  │ (libSQL)│ │
│  │ :3000   │  │ :8000   │  │ :8080   │ │
│  └─────────┘  └─────────┘  └─────────┘ │
└─────────────────────────────────────────┘- Site — The Nuxt frontend that users interact with.
- Python Backend — Handles AI, audio, and video processing.
- Database — libSQL server for data persistence.
Quick Start
Step 1: Clone the Repository
git clone https://github.com/leamsigc/magicsync.git
cd magicsync
Step 2: Configure Environment Variables
Copy the example environment file and fill in the required values:
cp .env-example .envOpen .env in your editor and set the following required values:
# ============================================================
# DATABASE (Turso / libsql)
# ============================================================
# Option A: Docker local database (recommended for self-hosting)
JWT=<your-jwt-key>                    # Generate: openssl rand -hex 32
SQLD_AUTH_JWT_KEY=<your-sql-key>      # Generate: openssl rand -hex 32
NUXT_TURSO_DATABASE_URL=http://db:8080
NUXT_TURSO_AUTH_TOKEN=<same-as-JWT>

# Option B: Turso cloud
# NUXT_TURSO_DATABASE_URL=<turso-database-url>
# NUXT_TURSO_AUTH_TOKEN=<turso-auth-token>

# ============================================================
# APP CONFIGURATION
# ============================================================
NUXT_HOST=0.0.0.0
NUXT_APP_URL=https://your-domain.com
NUXT_BASE_URL=https://your-domain.com
NUXT_SESSION_PASSWORD=<generate-openssl-rand-hex-32>

# ============================================================
# BETTER AUTH
# ============================================================
# NUXT_BETTER_AUTH_SECRET and BETTER_AUTH_SECRET must be the same value.
NUXT_BETTER_AUTH_URL=https://your-domain.com
NUXT_BETTER_AUTH_SECRET=<generate-openssl-rand-hex-32>
BETTER_AUTH_URL=https://your-domain.com
BETTER_AUTH_SECRET=<same-as-NUXT_BETTER_AUTH_SECRET>

# ============================================================
# PYTHON BACKEND
# ============================================================
NUXT_PYTHON_API_URL=http://python-backend:8000

# ============================================================
# LLM SERVICE (must match Python backend!)
# ============================================================
NUXT_LLM_JWT_SECRET=<generate-openssl-rand-hex-32>

# ============================================================
# FILE STORAGE
# ============================================================
NUXT_FILE_STORAGE_MOUNT=./upload/files
Generate Secret Keys
Run the following commands to generate secure random values:
openssl rand -hex 32  # JWT
openssl rand -hex 32  # SQLD_AUTH_JWT_KEY
openssl rand -hex 32  # NUXT_SESSION_PASSWORD
openssl rand -hex 32  # NUXT_BETTER_AUTH_SECRET
openssl rand -hex 32  # BETTER_AUTH_SECRET
openssl rand -hex 32  # NUXT_LLM_JWT_SECRET
Important: NUXT_BETTER_AUTH_SECRET and BETTER_AUTH_SECRET must be the same value. The Python backend uses BETTER_AUTH_SECRET to validate authentication tokens from the Nuxt app.
Step 3: Start the Application
Run the following command to start all services in the background:
docker compose up -dLegacy Docker Compose: If your system still uses the older
docker-composecommand, replacedocker composewithdocker-composein the examples above.
This will:
- Build the Nuxt site container
- Build the Python backend container
- Start the libSQL database container
- Connect all services on the same Docker network
Step 4: Access the Application
Once the containers are running, open your browser and visit:
http://localhost:3000Or, if you configured a domain:
https://your-domain.com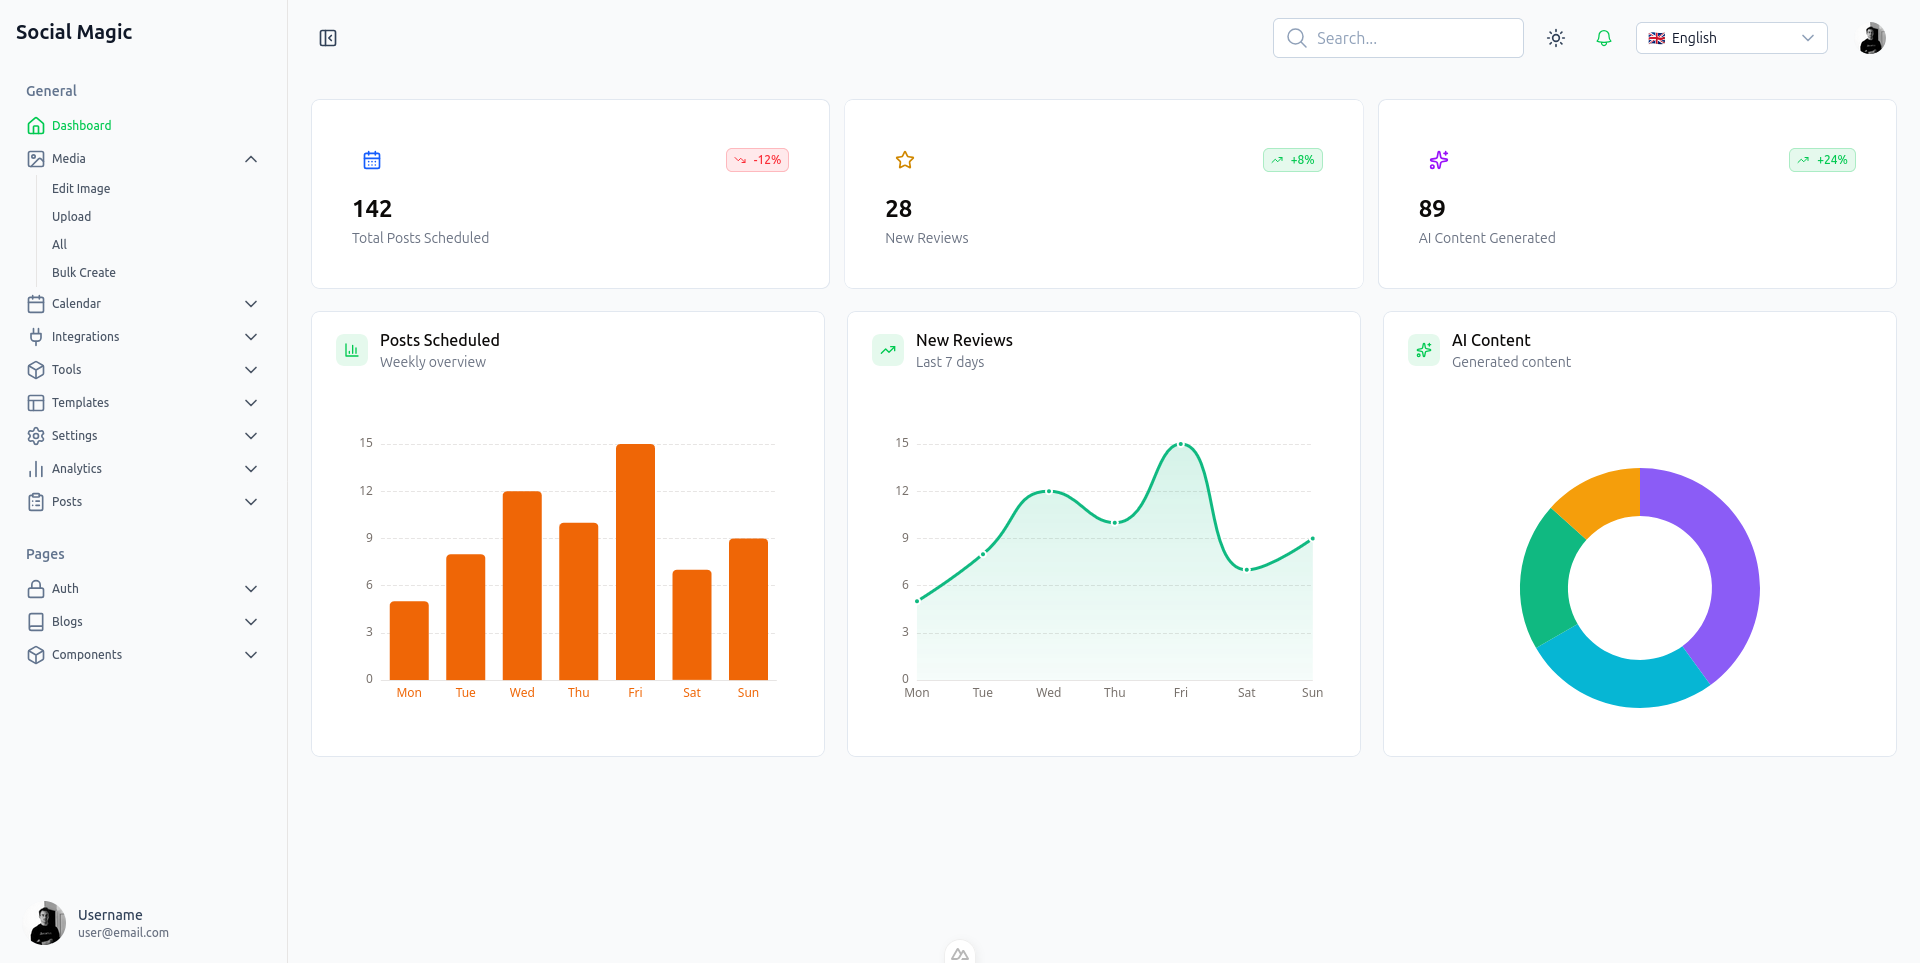
Setting Up Social Media Keys
To connect social media accounts, you need OAuth credentials from each platform. These are required for MagicSync to publish on your behalf.
See the Platform Keys Guide for platform-specific setup instructions.
Supported Platforms
| Platform | Required Credentials |
|---|---|
| App ID + App Secret + Config ID | |
| Same as Facebook | |
| X/Twitter | Client ID + Client Secret |
| Client ID + Client Secret | |
| TikTok | Client ID + Client Secret |
| YouTube | Client ID + Client Secret |
| Discord | Client ID + Client Secret |
| GitHub | Client ID + Client Secret |
Note: Each platform requires a callback URL. Use your public domain, e.g., https://your-domain.com.
Development vs Production
Development Mode
For local testing and development:
docker compose -f docker-compose.dev.yml up -dProduction Mode
For production, you have two options:
Option A: Build from Source (Default)
docker compose up -dThis builds the site from the repository source.
Option B: Use the Pre-Built Image
For faster deployments, use the published Docker image instead of building from source:
services:
  site:
    image: ghcr.io/leamsigc/magicsync:v1.0.0  # Replace with the latest release tag
    depends_on:
      - db
      - python-backend
    environment:
      - NUXT_HOST=0.0.0.0
      - NUXT_PYTHON_API_URL=http://python-backend:8000
Tip: Replace v1.0.0 with the actual tag you want to deploy. Check the GitHub releases page for available tags. Pinning to a specific tag makes deployments reproducible and avoids unexpected updates from latest.
Updating MagicSync
To update to the latest version:
# Pull the latest code
git pull origin main

# Rebuild and restart
docker compose down
docker compose up -d --build
Note: If you are using the older
docker-composecommand, replacedocker composewithdocker-composein the commands above.
Security Best Practices
- Keep secrets private — Never commit your
.envfile. - Use strong secrets — Generate long, random values for all tokens and passwords.
- Update regularly — Pull the latest updates for security patches.
- Back up your database — Regular backups protect against data loss.
- Use HTTPS — Always use
https://in production.
Backing Up the Database
# Create a backup folder
mkdir -p backups

# Copy the database files
cp -r sqld backups/sqld-$(date +%Y%m%d)
Common Commands
# Stop all services
docker compose down

# Stop and remove all data (use with caution)
docker compose down -v

# List running containers
docker ps

# View site logs
docker compose logs -f site

# View database logs
docker compose logs -f db

# Restart a specific service
docker compose restart site
Troubleshooting
Cannot access localhost:3000
- Wait for the containers to finish building (this can take 5–10 minutes).
- Run
docker psand verify thatsite,python-backend, anddbare running. - Check the site logs:
docker compose logs site
Database connection failed
- Verify that
JWTmatchesNUXT_TURSO_AUTH_TOKEN. - Verify that
SQLD_AUTH_JWT_KEYis set. - Check the database logs:
docker compose logs db
Cannot log in
- Verify that
NUXT_BETTER_AUTH_SECRETis set. - Verify that
NUXT_SESSION_PASSWORDis set. - Make sure you are using
https://in production.
Images or videos not uploading
- Verify that
NUXT_FILE_STORAGE_MOUNTis set correctly. - Make sure the upload directory exists:
mkdir -p upload/files
Using Local AI with Ollama
The Python backend can use Ollama for local AI. Add an Ollama service to your docker-compose.yml:
ollama:
  image: ollama/ollama:latest
  volumes:
    - ollama-data:/root/.ollama
  ports:
    - "11434:11434"
Then set OLLAMA_BASE_URL=http://ollama:11434 for the Python backend.
Alternatively, use a cloud LLM provider by setting NUXT_OPENAI_API_KEY in your .env.
Next Steps
- Docker Setup Guide — Learn more about Docker configuration
- Coolify Deployment Guide — Deploy with Coolify
- Platform Keys Guide — Connect social media accounts
- AI Tools Guide — Explore the built-in tools